Images are often one of the most overlooked things when publishing content inside a website. Editors upload images freely and most of them don’t rely on using the correct image format, or even worse, they don’t bother to optimize the image at all.
However, the Linux terminal offers a great way to recursively optimize PNG files.
Install OptiPNG and PNGCrush on Linux
Installing this tools on popular Linux distros is easy. Run the following commands as root:
For Ubuntu/Debian
apt-get install optipng pngcrush
For CentOS/RHEL
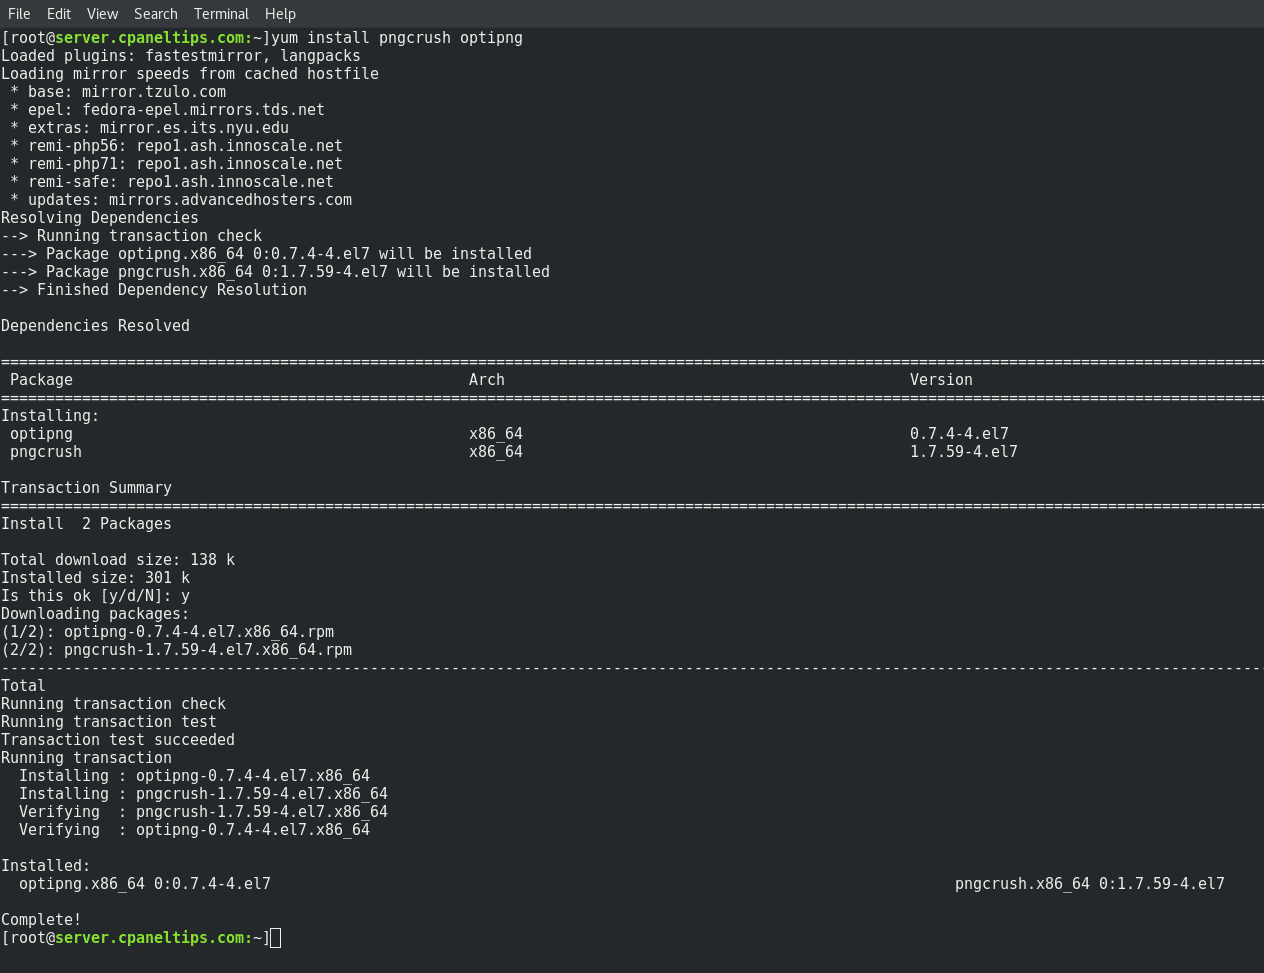
yum install optipng pngcrush
This should be the expected output on CentOS Linux servers:

Recursively Optimize PNG Files using OptiPNG command
OptiPNG is a wonderful PNG optimizer tool that can help you to reduce bandwidth and increase website speed. The best thing is that you can optimize PNG files inside all your sub-directories, and doing it losslessly, this means that your PNG files won’t lose any quality at all.
This command is super useful if you have a hundred or thousand PNG files inside one single directory, which also contains sub-directories. Moving to each directory, open and optimize using normal tools like GIMP or other image editors will be endless, it will take forever.
However, OptiPNG and PNGCrush, the most popular PNG optimization tools for Unix and Linux, allows you to recursively optimize PNG files fast and easy.
Using OptiPNG
OptiPNG will take your current PNG files, then optimize all of them, and finally it overwrites your original files. All in a fast & single command.
First, open your terminal and move to the directory path where you have stored all your PNG images:
cd /path/to/your/image-directory/
Then run this command:
find -name '*.png' -print0 | xargs -0 optipng -nc -nb -o7
As you see, we will use find command to get all the PNG files in the current directory where you are at (it also searches inside all subdirectories). After that, xargs command will take that .png list and process optipng on all of them.
-nc and -nb arguments are used to avoid any colour altering and -o7 specifies the level of compression to use, in this case is the best value we can use.
Using PNGCrush
Unlike OptiPNG, PNGCrush doesn not overwrite the optimized files, it generates new files. It will be somehow tricky to move all new optimized images one by one, that’s why we can use a single line for loop to make our life easier.
Move to the directory where you are storing your PNG files:
cd /path/to/your/image-directory/
The use this for loop handy script as root:
for file in `find -name '*.png'`; do; pngcrush -reduce -brute $file /usr/local/src/crushed.png; mv /usr/local/src/crushed.png $file; done
Exactly the same as when we used OptiPNG, optimizing PNG files with PNGCrush uses find command, then optimizes and saves the new PNG file at /usr/local/src directory, and finally after that it moves the file back to the original location replacing the old file with the new one.
Expected more? That’s all for today. Now you know how to recursively Optimize PNG Files using OptiPNG and PNGCrush tools.

For me had to use the following (added a .)
find . -name ‘*.png’ -print0 | xargs -0 optipng -nc -nb -o7